OK, this challenge was a strange one. Strange in the good way!
I had never heard of Baumkuchen before, so I searched it on line.... Oh, the pictures and the shapes! So impressive! Who knew you can make a cake on a spit!
Of course, for the home preparation of this lovely cake, we used simple pans and baked it in layers.
This challenge was hosted by Francijn from the blog "
Koken in de Brouwerij".
BAUMKUCHEN (treecake)
recipe slightly adapted from the given one
Batter:
6 large eggs (room temperature)
pinch of salt
120 gr granulated sugar
150 gr marzipan
200 gr softened unsalted butter
100 gr confectioner's sugar
5 gr vanilla
100 gr all-purpose flour (sifted)
Glaze:
100 gr apple - vanilla jam
* Preheat the oven to 230°C.
* Line a cake tin with parchment paper.
* Divide the eggs. Beat the egg whites with the salt until nearly stiff, add the sugar and beat until really stiff.
* Crumble the marzipan and beat it with the butter, icing sugar and vanilla until creamy.
* Add the egg yolks one by one and beat well between each addition.
* Add
the stiff egg whites and flour and gently fold it into the batter.
Trying not to lose too much air.
* Smear a little batter on the bottom of the pan, keep
the sides of the pan clean, and bake for (about) 5 min,
until it is cooked and brown.
* Take the pan out of the oven, smear the
next portion of batter carefully over the first, and bake for another 5 min until cooked and brown. Repeat until all batter is used.
* Let the cake cool down, take it out of the pan, remove
the parchment paper and let the cake cool completely on a wired rack.
* Trim the edges.
* Cover the top of the cake with the jam.
My little one is doing the folding of the egg whites!
She just had to have sprinkles in the cake!
Baked layer
Smeared batter
Lovely jam on top!
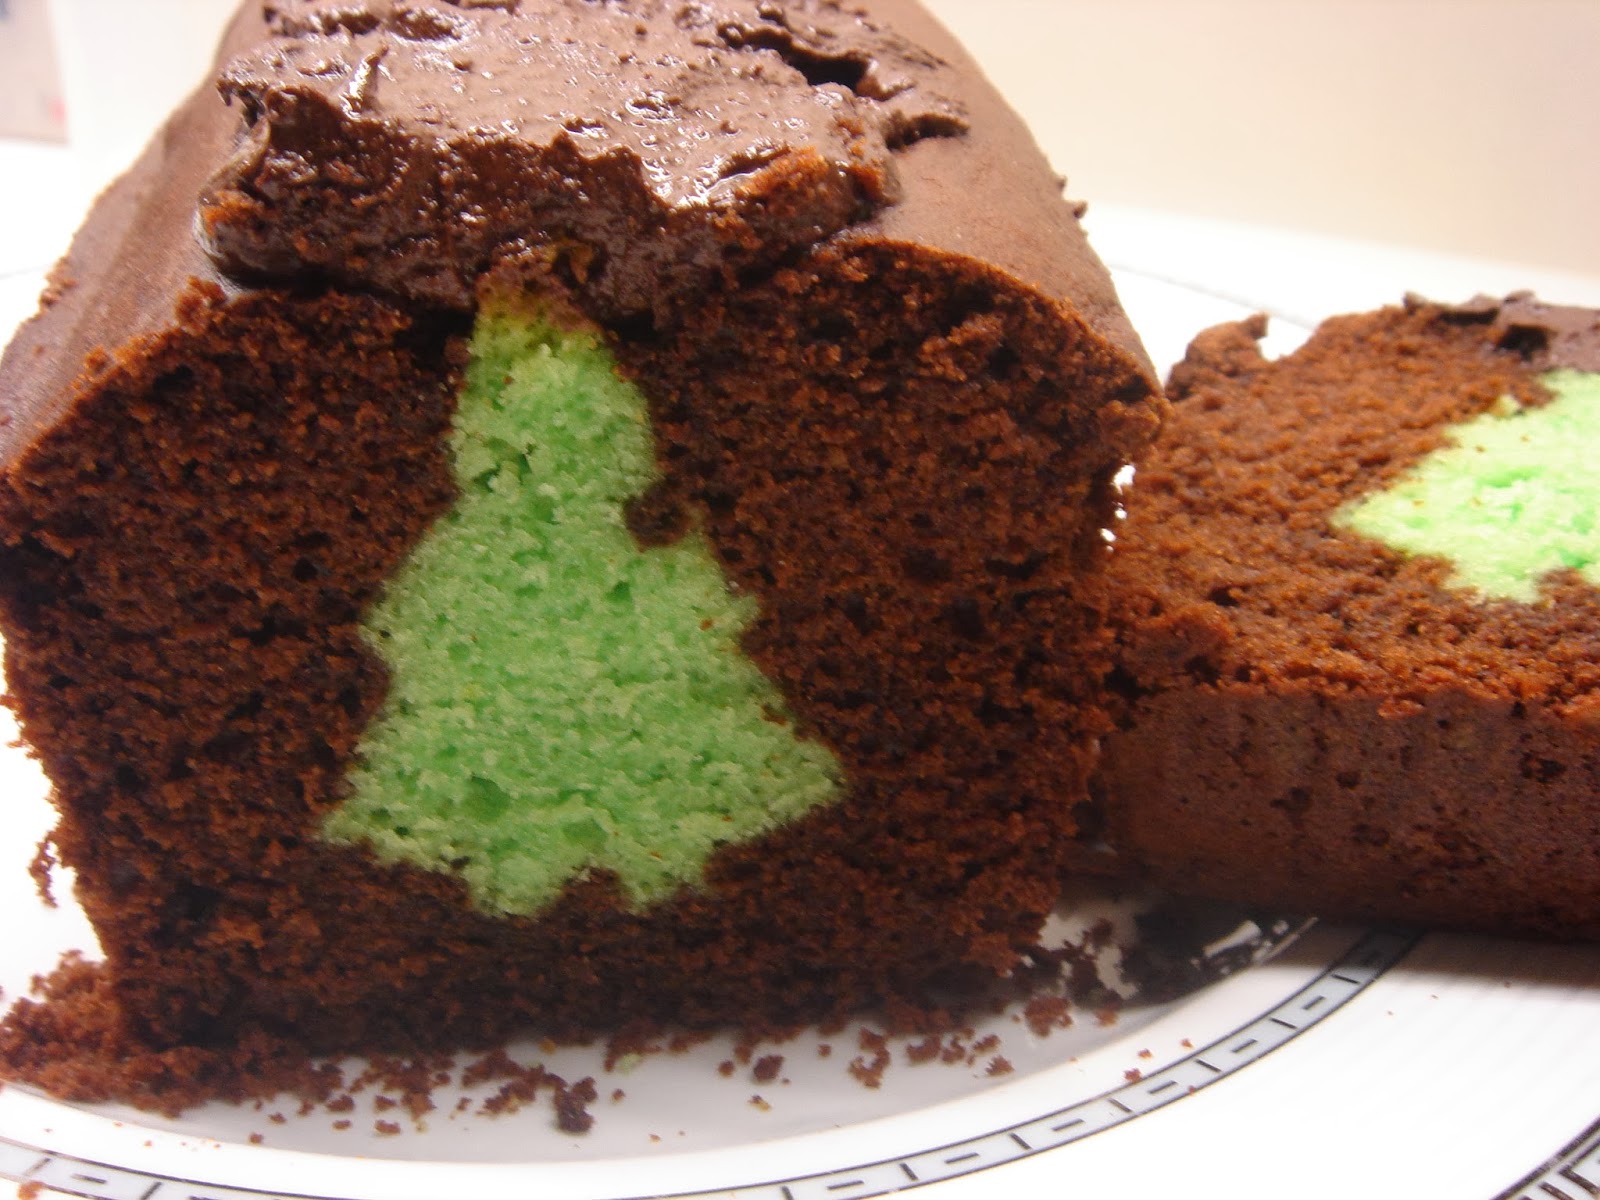
I like the way it looks, but the layers are not that distinct. Perchaps if I had used two colours of batter alternating each other, the layers would really show!
The taste of this cake is good, very good!
I wonder if I can use this batter to make a loaf cake, no layers, just a good old cake. So tasty!
Thank you Francijn for this challenge!
Louise!